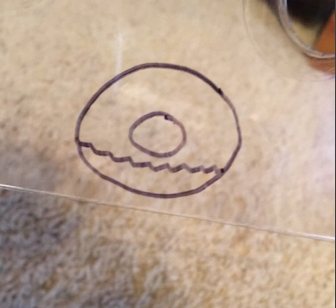
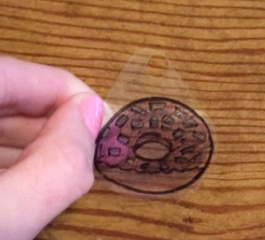
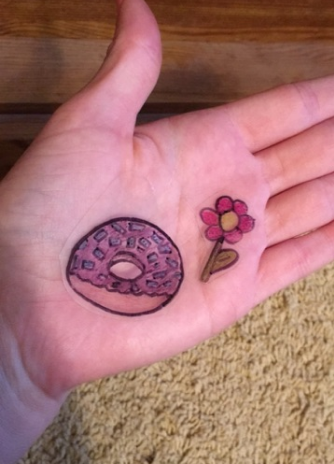
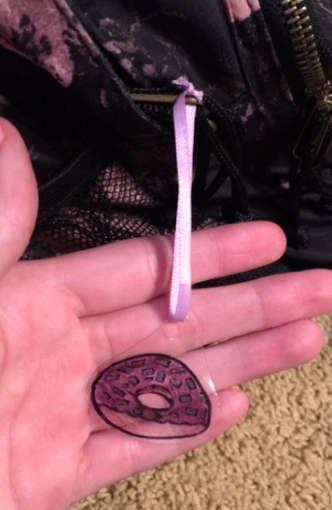
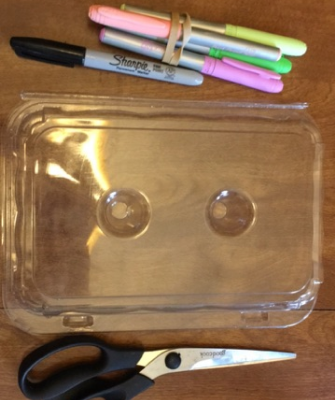
The materials needed are as follows: plastic (most likely from a muffin container, croissant container, etc.), scissors, permanent markers, an oven (or toaster oven), a hole punch, some string/ribbon/etc. and a spoon.
Step 1:
Cut out the top of the box.
Step 2:
Draw on your designs with permanent marker.
Step 3:
Color them in with permanent markers. Don’t worry if the colors don’t really show up at first, once they bake, the colors will show up and be darker.
Step 4:
Cut them out, and if desired, cut out a ways around the charm and use a hole punch to make a hole in it.
Step 5:
Preheat your oven or toaster oven to 250 degrees.
Step 6:
Place the charms on a baking sheet and place in the oven for two to three minutes.
Step 7:
Remove the charms from the oven. They might have curled up a bit, so make sure to have a spoon handy so that you can gently press them back down. Be aware that the charms should have shrunk at least a bit and that the colors will have darkened.
Step 8:
Use some string or ribbon and put it through the hole that you made in the charm. Then tie the charm to whatever you’d like such as a backpack, a key chain, your phone, etc.
Enjoy your new, handmade charms!
You must be logged in to post a comment Login